Guide

From zero to a tidy inbox in five minutes.

Six simple steps, with pictures. None of this needs technical knowledge.

1

Install

Download the installer from the home page and open it. No administrator rights needed. If Windows shows the blue SmartScreen warning, click More info and then Run anyway — that's normal for a new program without a paid certificate.
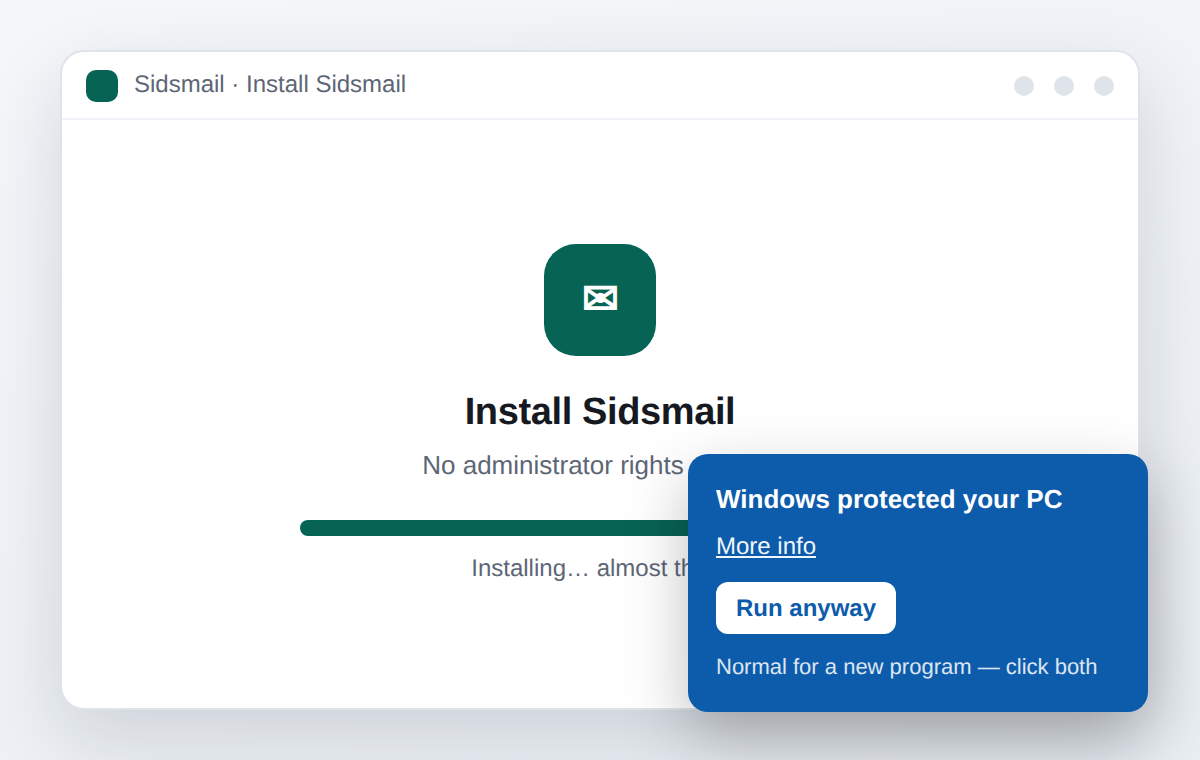
Illustration for the step: Install
2

Add your first account

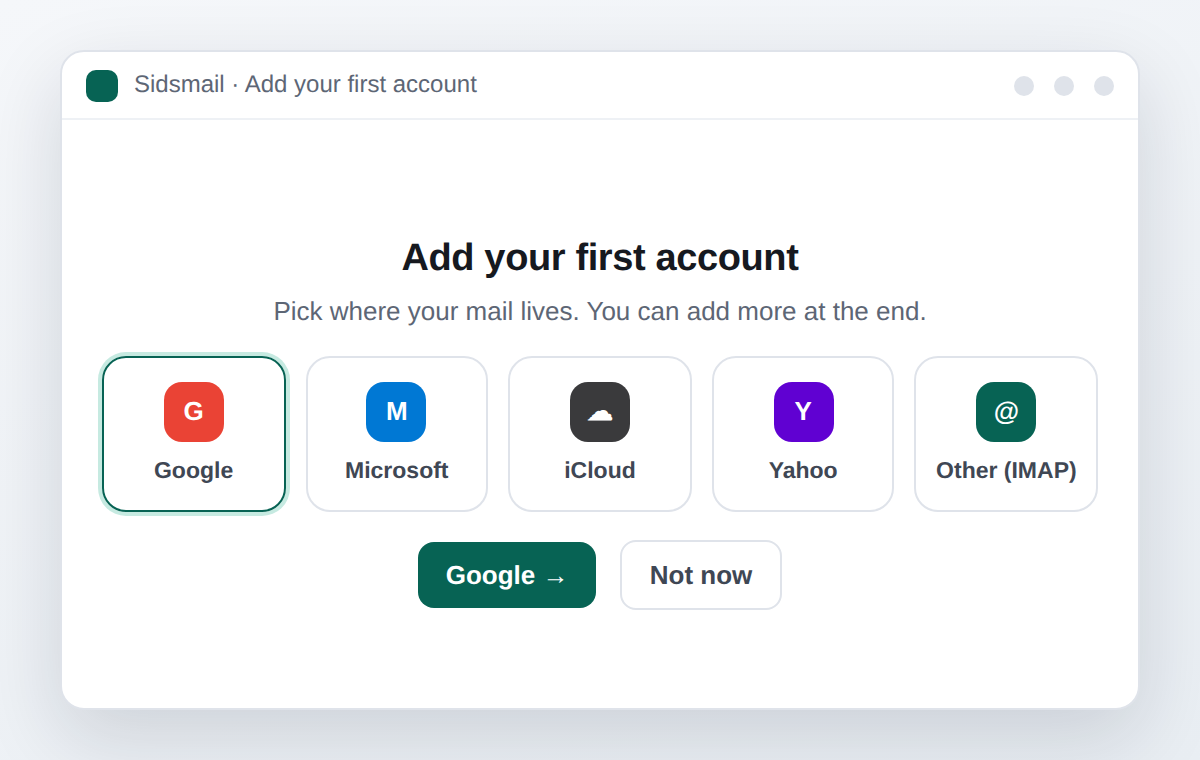
A short wizard appears on first launch. Pick Google, Microsoft, iCloud, Yahoo or "Other (IMAP)". With Google and Microsoft you sign in in your browser; for the rest, your e-mail and password (or an app password) is enough. You can add more accounts at the end, or later in Settings.

Illustration for the step: Add your first account
3

Read and tidy up

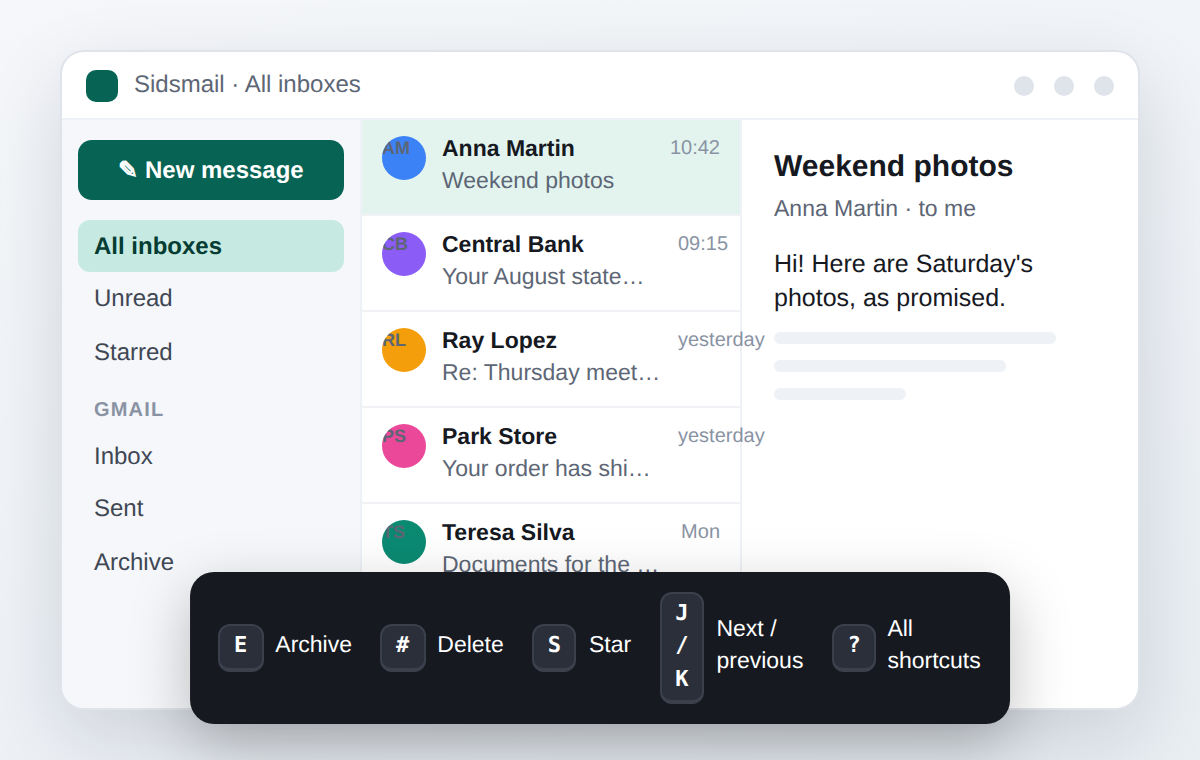
All accounts show up in "All inboxes". With a message selected: E archives, # deletes, S stars, J/K move on. Press ? for every shortcut. Search with from:, subject:, has: and before:.

Illustration for the step: Read and tidy up
4

Notifications and quiet hours

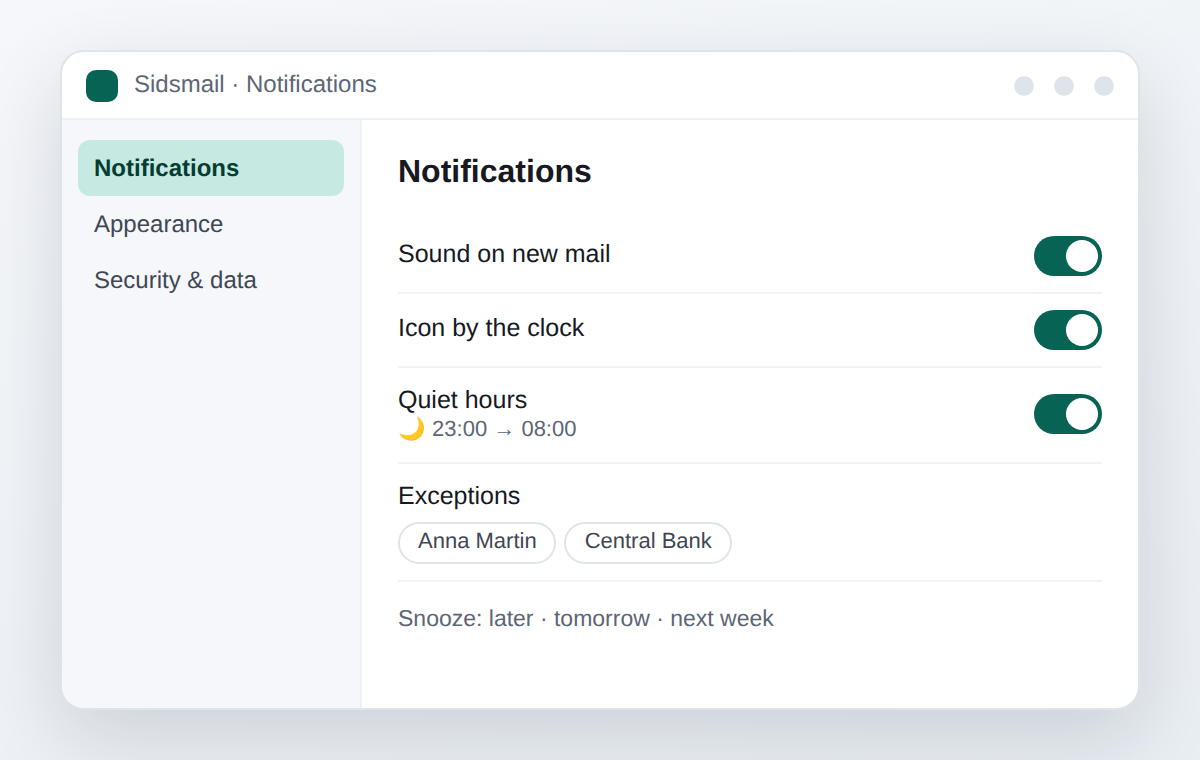
In Settings › Notifications choose whether you want a sound and the tray icon by the clock. Set quiet hours (say 23:00 to 08:00) and exceptions for the senders who matter. To push a message to later, use "Snooze".

Illustration for the step: Notifications and quiet hours
5

Language, theme and colour

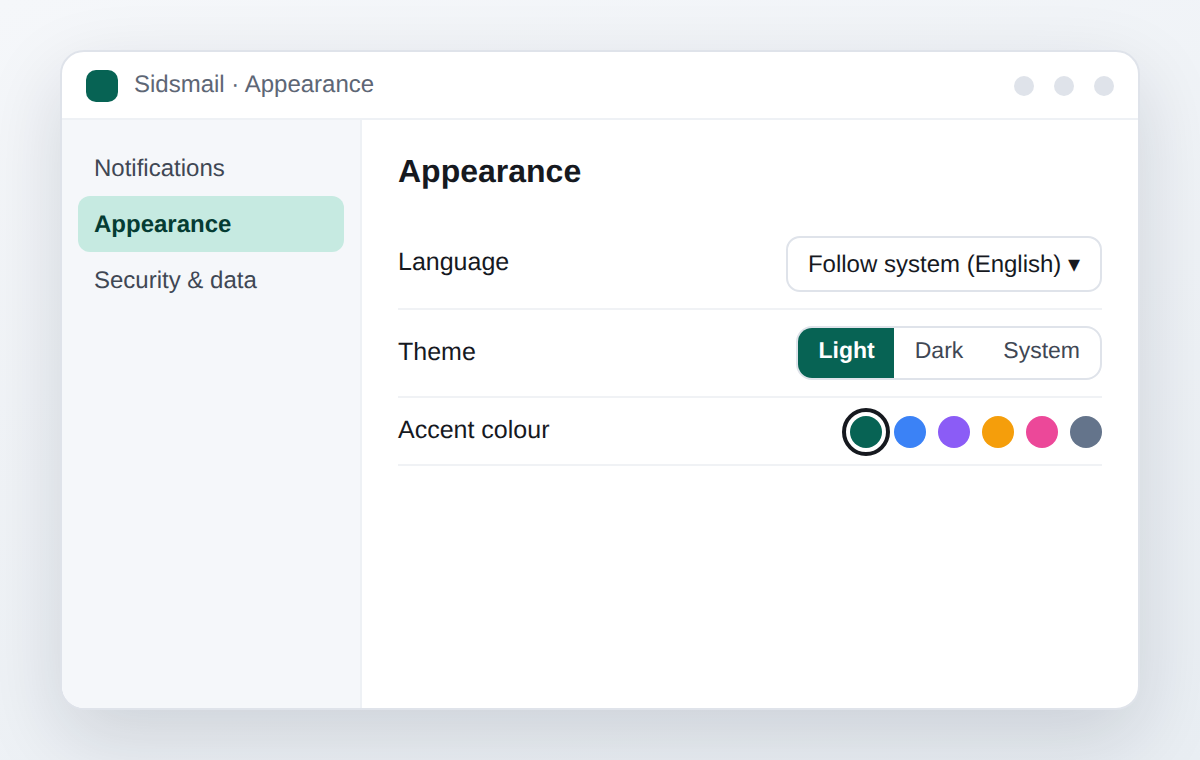
The language follows Windows automatically; you can pin it in Settings › Appearance, along with the light or dark theme and the accent colour. Changes apply immediately.

Illustration for the step: Language, theme and colour
6

Backups and privacy

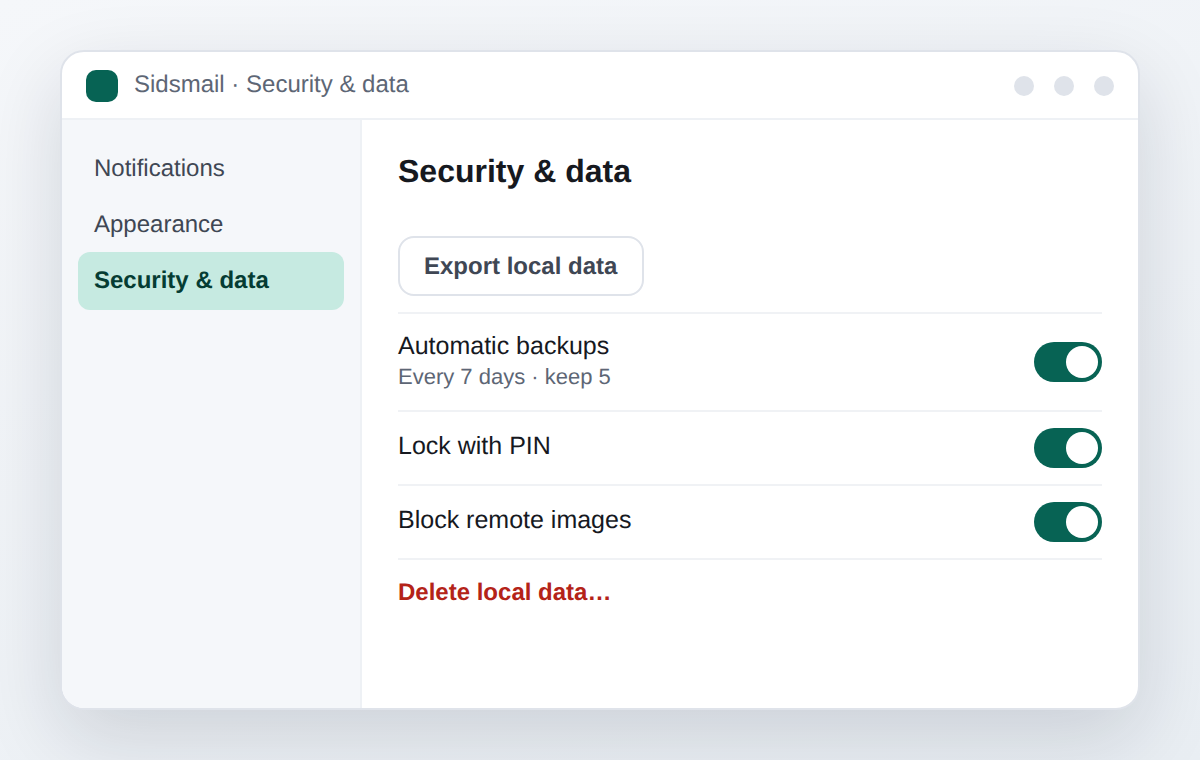
In Settings › Security & data you can export everything to a single file, turn on automatic backups, lock the app with a PIN and, if you ever want to, delete all local data. Remote images stay blocked by default.

Illustration for the step: Backups and privacy

Still have a question?

See the FAQ or write to suporte@sidsmail.com — I answer personally.